Characterization of Multi-Protein Complexes (MPCs) by BN-PAGE
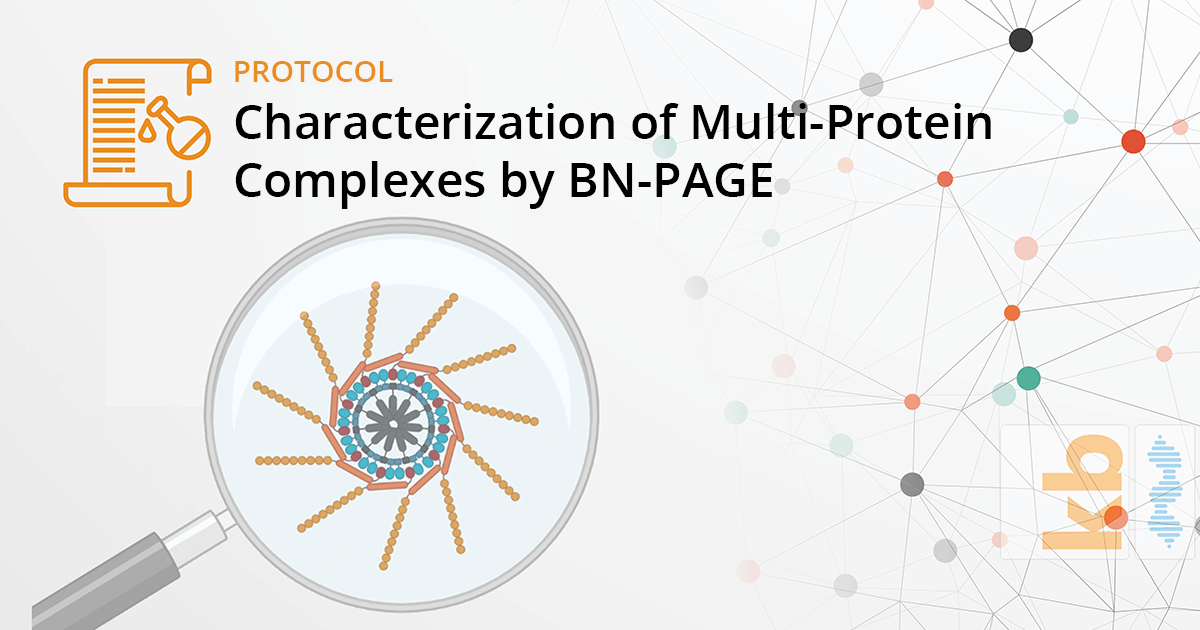
Characterization of Multi-Protein Complexes (MPCs) by BN-PAGE
Introduction
What are MPCs:
MPCs are a group of two or more associated polypeptide chains. Two kinds of MPCs can be distinguished: Constitutive, abundant MPCs such as receptors or transcription factors; and signal-induced, transient, low copy number MPCs. These complexes typically play a crucial role in signaling. Identification and analysis of MPCs requires their separation under native conditions.
BN-PAGE:
Blue native polyacrylamide gel electrophoresis (BN-PAGE) can be used for one-step isolation of multi-protein complexes (MPCs) from biological membranes/organelles and total cell and tissue homogenates under native conditions. BN-PAGE is often used for the study of MPCs as it can provide information about the size, number, protein composition, stoichiometry, or relative abundance of MPCs.
Advantages of BN-PAGE:
- It can be used to determine native protein masses, oligomeric states, and identify physiological protein–protein interactions.
- It has a higher resolution for separation than gel filtration or sucrose density ultracentrifugation.
- It can be used to analyze abundant, stable MPCs from 10 kD to 10 MD.
- It allows the determination of the size, the relative abundance, and the subunit composition of an MPC, in contrast to, immunoprecipitation and two-hybrid approaches.
- It is useful for determining how many different complexes exist that share a common subunit, whether free monomeric forms of individual subunits exist, and whether these parameters change upon cell stimulation.
Protocol
1. Sample preparation for BN-PAGE:
Note about detergents: Before preparing the samples for BN-PAGE, the optimal detergent and its appropriate concentration that will preserve the MPCs yet solubilize the cells should be determined. Non-ionic detergents are considered best for maintaining MPC stability. Commonly used detergents that can be tested include digitonin (0.5 to 1%), Triton X-100 (0.1 to 0.5%), Brij 96 (0.1 to 0.5%), or dodecylmaltoside (0.1 to 0.5%). Other detergents can also be used [information about detergents can be found online or on request]. Even if soluble MPCs are being analyzed, detergents must be present in the dialysis step to prevent aggregation during the stacking step of the gel run.
Samples for BN-PAGE may be prepared from several sources such as total cell lysates, cellular organelles and membranes. A basic protocol for MPC sample preparation from total cell lysates or from lysates of tissue samples for BN-PAGE analysis is provided below. The details of cell culture will be specific to the cells used for the experiment and are therefore not included here.
1a. Preparation of total cell lysates
- Harvest 2 x 10⁶ cells and pellet by centrifugation at 350g for 5 min at 4°C.
- Note: Suspension cells can be harvested by centrifugation; cells that grow attached to the culture dishes should be released from the dishes with 0.5 mM EDTA (avoid trypsin, because it digests extracellular proteins). Tissues should be homogenized with a Dounce homogenizer in PBS (Mix 1).
- Wash the cell pellet three times with 0.5 ml of ice-cold PBS (Mix 1), and pellet after each wash by centrifugation at 350g for 5 min at 4°C.
- Resuspend the cell pellet at 2 x 10⁶ cells per 100 µl of ice-cold BN-Lysis Buffer (Mix 3)
- Incubate on ice for 15 min.
- Centrifuge at 13,000g for 15 min at 4°C.
- Melt a hole in the cap of a microcentrifuge tube using a hot Pasteur pipette, and then place the tube on ice to chill.
- Transfer the supernatant from step 5 into the chilled tube with the hole in the cap.
- Place a dialysis membrane with forceps over the opened tube and close the cap (F2, B and C).
- Note: Ensure that there are no folds or tears in the dialysis membrane.
- Seal the cap carefully with Parafilm.
- Invert the tube and centrifuge upside-down at the lowest speed possible in the adaptor cavity for 50-ml conical tubes in a cell culture centrifuge for 10 s at 4°C.
- Note: Remove the inverted tube from the centrifuge using large tweezers to avoid turning the tube right side up.
- Prepare a 100-ml beaker with cold BN-Dialysis Buffer (Mix 4) and a magnetic stirrer. Use at least 10 ml of BN-Dialysis Buffer per 100-µl sample.
- Affix the tube with tape upside-down inside the beaker and remove air bubbles from the hole beneath the cap using a bent Pasteur pipette.
- Switch on the magnet stirrer and leave it for 6 hours or overnight in the cold room. Check occasionally to ensure that stirring is not creating air bubbles at the dialysis membrane.
- Collect the dialyzed cell lysate in a new chilled microcentrifuge tube.
It might sometimes be necessary to increase the likelihood of detection of less abundant MPCs. For this purpose, we provide two alternative sample preparation methods that allow enrichment of samples for MPCs with i. phosphotyrosine-containing proteins and ii. MPCs associated with cell membranes or organelles.
1b. Enrichment of MPCs containing phosphotyrosine residues
Immunoprecipitation methods commonly used for enrichment of proteins cannot be combined with BN-PAGE, because elution of MPCs under native conditions from the antibody-coupled beads is impossible. MPCs with components that are phosphorylated on tyrosine residues may be immunopurified using antibodies against phosphotyrosine. The MPCs are then eluted with an excess of phenylphosphate, which competes with phosphotyrosine for binding to the antibody. Provided below is a detailed protocol for preparation of phosphotyrosine-enriched samples. Alternatively, affinity-purification protocols, such as the tandem affinity purification (TAP-tag) method, that allow native elution of the proteins from the affinity matrix could also be used.
- Harvest 2 x 10⁷ cells and pellet by centrifugation at 350g for 5 min at 4°C.
- Note: Cells may be stimulated with ligands, agonists, antagonists, or other conditions, depending on the experiment.
- Wash the cell pellet once with 1 ml of ice-cold PBS (Mix 1) and pellet by centrifugation at 350g for 5 min at 4°C.
- Resuspend the cell pellet at 2 x 10⁷ cells per 1 µl of ice-cold Lysis Buffer (Mix 5).
- Incubate for 15 min on ice.
- Centrifuge at 13,000g for 15 min at 4°C.
- Transfer the supernatant from step 5 into a new chilled tube.
- Add 10 µl of beads coupled to antibodies against phosphotyrosine residues and incubate on a rotating wheel for 2 hours to overnight in the cold room.
- Centrifuge at 400g for 2 min at 4°C.
- Wash the beads three times with 1 ml of ice-cold BN-Dialysis Buffer (Mix 4), centrifuging 400g for 2 min at 4°C
- Add 40 µl of ice-cold BN-Dialysis Buffer Containing Phenylphosphate (Mix 6) and resuspend the beads using a 20-µl pipette tip that has been cut at the narrow end to make the opening larger.
- Resuspend beads every 5 min for 30 min while incubating on ice.
- Note: If desired, proteins may be dephosphorylated by adding one unit of alkaline phosphatase to the eluate during the last 5 min of the elution procedure.
- Centrifuge at 400g for 2 min at 4°C and collect the supernatant (eluate) in a new, chilled tube.
- Note: These samples do not have to be dialyzed and are ready for BN-PAGE.
1c. Preparation of membranes for BN-PAGE
MPCs that are associated with cell membranes or inside organelles can be enriched before preparing the lysate for analysis by BN-PAGE.
- Prepare membrane fractions of cells using standard protocols.
- Wash the membrane pellet once with 0.5 ml of ice-cold BN-Lysis Buffer (Mix 3) without detergent.
- Resuspend the membrane pellet completely without generating air bubbles in ice-cold BN-Lysis Buffer (Mix 3), including detergent. Use the equivalent of 4 x 10⁷ cells per 100 ul of BN-Lysis Buffer.
- Incubate for 1 hour at 4°C, resuspending the pellet every 15 min.
- Centrifuge at 20,000g for 10 min at 4°C.
- Collect the supernatant (membrane lysate) in a new, chilled microcentrifuge tube.
- Note: These samples do not have to be dialyzed and are ready for BN-PAGE.
2. BN-Gel preparation
Carry out gradient gel pouring at room temperature with a gradient mixer. Because of its high glycerol content, the gel mix with the higher-percentage (15%) acrylamide-bisacrylamide is heavier than the low-percentage (4%) gel. This density difference aids in establishment of a uniform gradient between the glass plates. Gloves must be worn because polyacrylamide is highly neurotoxic.
Note: Precast BN-gels and buffers are commercially available from Invitrogen (NativePAGE Novex Bis-Tris Gel System).
- Place the gradient maker on a stir plate and attach to a peristaltic pump. Close the channel using the valve and close the tubing with a clamp.
- Attach a syringe needle to the end of a piece of flexible tubing that comes out of the peristaltic pump and place the needle into the top, between the two glass plates of the gel apparatus. Place the needle close to the bottom and raise it slowly as the gel pours.
- Prepare 4% and 15% Separating Gels (Mixes 9 and 10), adding APS and TEMED only immediately before use.
- Note: The volumes of the two gel solutions combined should be exactly equal to the volume required to fill the space between the glass plates to the required height.
- Pour these gel solutions into the corresponding cylinders of the gradient mixer (4% into the “low” and 15% into the “high” cylinder).
- Open the valve and force out the air bubble inside the channel connecting the two gel reservoirs by pressing over the left cylinder with your thumb.
- Switch on the pump to 5 ml per minute, remove the clamp, and allow the gel to slowly flow between the glass plates. Ensure that the needle is always above the height of the liquid so that the gradient is not disturbed
- Allow all liquid to enter the gel apparatus, and then overlay gently with isopropanol. Allow the gel to polymerize for at least 30 min at room temperature.
- Clean the pouring apparatus with dH2O (do not use detergent).
- Remove the isopropanol, wash with dH2O, and remove the dH2O carefully with a slip of absorbent paper without touching the gel.
- Prepare a 3.2% Stacking Gel (Mix 11), adding APS and TEMED only immediately before use.
- Pour the stacking gel on top of the separating gel and immediately introduce the comb between the glass plates, avoiding bubbles at the interface between the gel solution and the comb. Allow the gel to polymerize.
- Note: Make sure that at least 0.5 cm (for 5-ml minigels) or 2.5 cm (for large, 30- to 50-ml gels) of stacking gel remain between the comb and the separating gel.
- Remove the comb slowly, pulling it out at an angle to the plane of the gel. This allows air to enter the pockets rapidly, which improves the quality of the wells.
3. Separation of the prepared sample of MPCs by BN-PAGE
Coomassie blue is present in the solution at the cathode that is overlaid onto the samples that have been added to the wells. This dye interacts with the MPCs inside the wells of the gel and enters the gel during electrophoresis, preventing aggregation of proteins in the stacking gel. Once the samples are prepared, the remainder of this part of the procedure should be performed at 4°C. It is recommended to boil an aliquot of the sample with SDS to disrupt the MPCs as a control and loading this control also on the BN-PAGE.
- Boil an aliquot of the sample, to be used as a control, in 1% SDS for 5 min to dissociate all MPCs. Leave one lane empty between this control and the “non-SDS samples.”
- Load 1 to 20 µl of sample in the dry wells, before adding the Cathode Buffer (Mix 12).
- Note: If the sample contains phosphorylated proteins and the phosphorylation is to be preserved, add 1/100th volume of 100x Pervanadate (Mix 13) to the dialyzed lysate.
- Load 10 µl of Marker Mix (Mix 14).
- Note: Only ferritin is visible during the electrophoresis due to its brown color. The other markers will be visible following Coomassie or silver staining.
- Overlay the samples in each well with Cathode Buffer (Mix 12).
- Fill the inner chamber with Cathode Buffer (Mix 12) and the outer and lower chambers with Anode Buffer (Mix 15)
- Apply voltage to a minigel at 100 V or a large gel at 150 V, until the samples have entered the separating gel.
- Increase the voltage to 180 V (minigel) or 400 V (large gel) and run until the dye front reaches the end of the gel.
- Note: The gel run takes between 3 and 4 hours for a mini-gel, and between 18 and 24 hours for a large gel.
4. Second Dimension SDS-PAGE
After performing the first-dimension BN-PAGE, it is possible to run a second-dimension SDS-PAGE to separate each MPC into its components. The protocol for this is provided below.
- Prepare a standard SDS-PAGE gel with a single large lane and one lane for molecular weight markers.
- Note: To make it easier to load the BN-PAGE gel slice onto the second-dimension gel, tape (Tesafilm or Cellotape) the spacers and comb of the SDS-PAGE gel. This results in a slightly thicker gel, which is sufficient to allow the BN-PAGE gel slice to slip between the plates and into the well easily, but still remain fixed between the glass plates.
- Remove the BN-PAGE gel in the plates from the electrophoresis apparatus and gently pry up one plate.
- Cut out the lane of the BN-PAGE gel containing the proteins of interest and remove the stacking gel.
- Place the BN-PAGE gel slice in SDS Sample Buffer (Mix 16) (5 ml for a minigel slice) in a small dish or cell culture plate, and incubate for 10 min.
- Boil the BN-PAGE gel slice briefly (not more than 20 s) in the microwave.
- Note: Excessive boiling will cause the gel slice to shrink.
- Continue incubating the BN-PAGE gel slice in the hot SDS Sample Buffer (Mix 16) for another 15 to 20 min.
- Load the BN-PAGE gel slice over the stacking gel of the SDS-PAGE gel and overlay the slice with SDS Sample Buffer (Mix 16).
- Perform electrophoresis according to standard protocols.
5. Visualization of MPCs
- Several methods are available for visualizing the protein complexes. The protein constituents of MPCs that have been isolated by BN-PAGE or second dimension SDS-PAGE can be analyzed by Coomassie blue staining or silver staining. Coomassie blue is a good choice for highly abundant MPCs (mg amounts), whereas silver staining is good for visualization of 50 to 1000 ng amounts of the protein of interest. These methods are standard, and the details are not provided here.
- For detailed information and formulation of referenced mixes or chemicals, please request list via our contact form